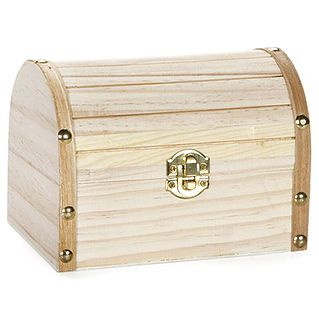
My eyes hurt from the ill-placed, consistently crooked brass hardware. BUT! There was some serious craft potential. I promptly stripped every last screw, finishing nail, and hinge and tossed them in the bin. Go feed the fishes, you bilge-sucking brass! Then it was time to fill the holes, sand the rough wood, and get down to wood burning.
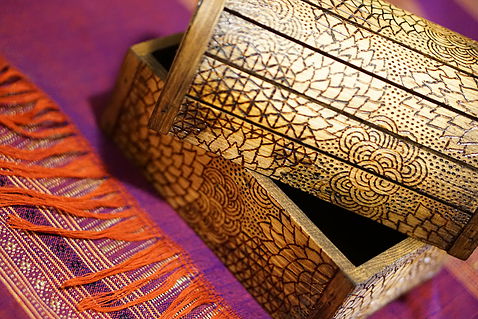
I’m still new to wood burning. Accordingly, I’m practicing the same pattern I used on my miniature Narnia inspired wardrobe: a combination of swirls and straight lines made with a universal point. (Want to make something similar? Pick up a Creative Woodburner Value Pen for $10.99 at Walmart).
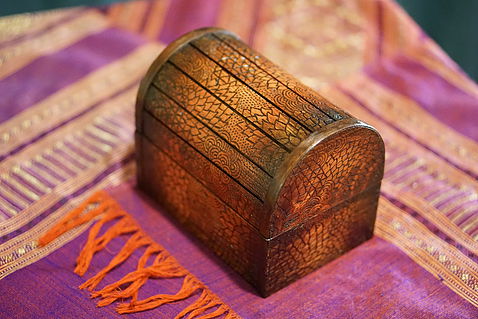
With wood burning complete, it’s time to stain! I used a combination of two stains to create a burnished effect: Minwax Wood Finish™Jacobean 2750 on the outer edges and Varathane Cabernet Wood Stain in the center. It took five rounds of staining (and more patience than I traditionally have with craft projects) to get it to my desired saturation. Since my house is so cold you can practically see your breath, the drying process moved at a glacial pace.
On the bottom of the chest, I decided to incorporate a treasure map. A little Mod Podge ® Gloss and some Neon Red Puffy Paint did the trick.
Then, it was time to tackle the inside. What’s a pirate chest without a little dose of mystery, right? I decided to make a false ceiling on the top of the chest. Sounds simple… It wasn’t. The box that I purchased wasn’t square, so it took a bit of time to create an insert that would fit properly. Another issue was figuring out how to attach the insert so that it would be able to support weight from above without any visible hinges to give away the suprise. That’s when my lovely husband offered up the perfect solution. Magnets.

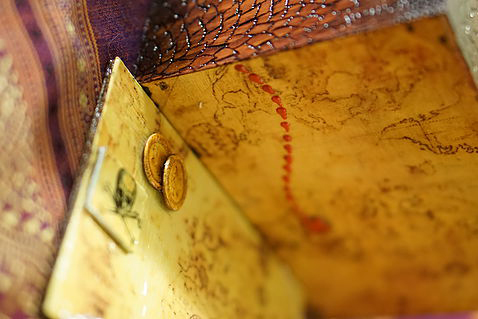
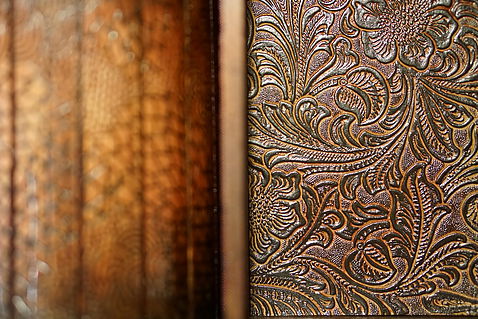
Shiver me timbers, the man is a genius! I installed two Spring-Loaded Single Magnetic Touch Catches on the left and right side of the lid. To wrap up my lid insert, I adhered tooled leather to the outside face and decoupaged the inside face with a treasure map, homemade debloons and pirate booty. A matching tooled leather piece was placed on the bottom of the chest to make the inside cohesive.


All in, I’ll admit that I sunk too much of me treasure into this bite-sized pirate chest, but it was a fun project chock-full of “learning moments.” I hope you scallywags enjoy it!
